Yes, our READY MIX microcement is waterproof !
ClaudiCemento Ready MIX microcement is a perfect material for installation in bathrooms, wet rooms and outside areas.
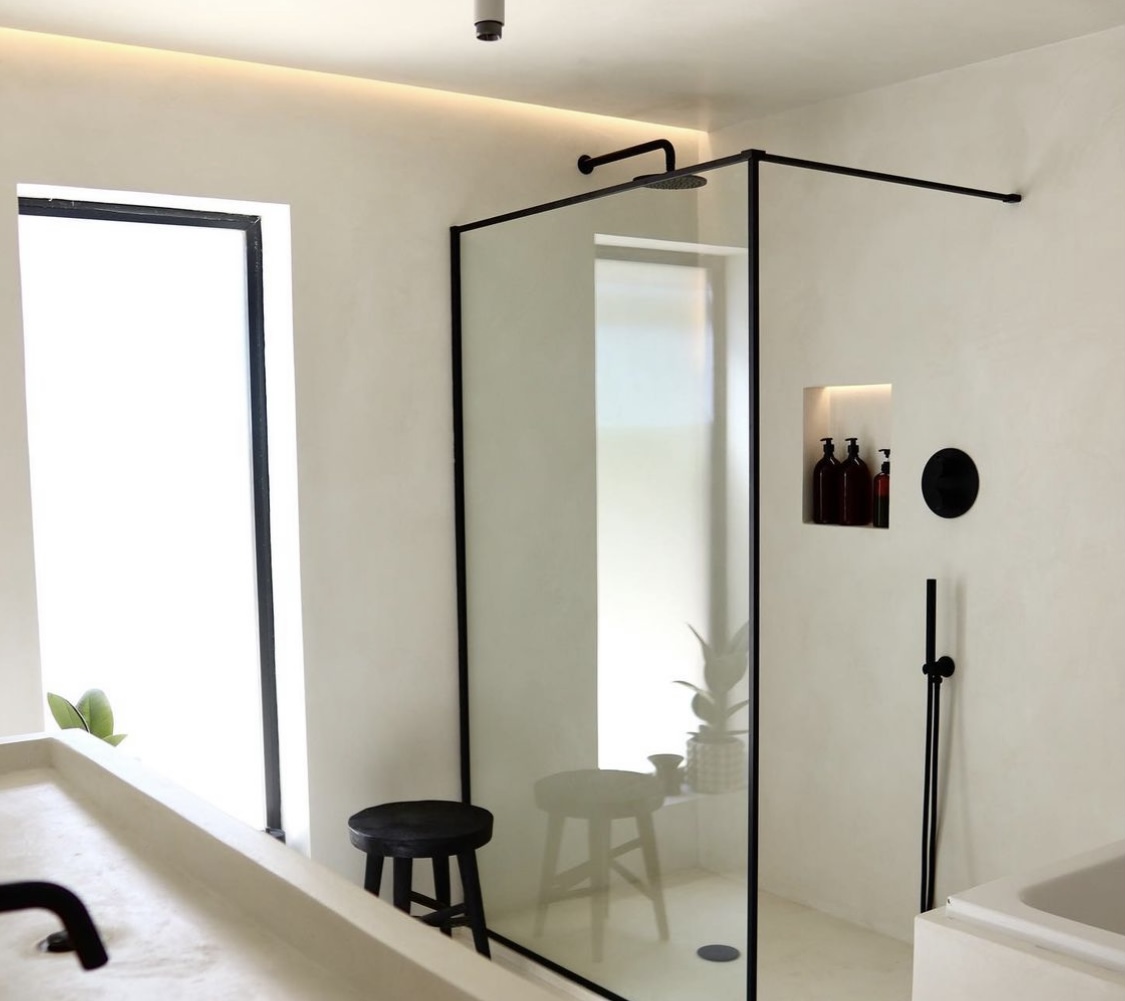
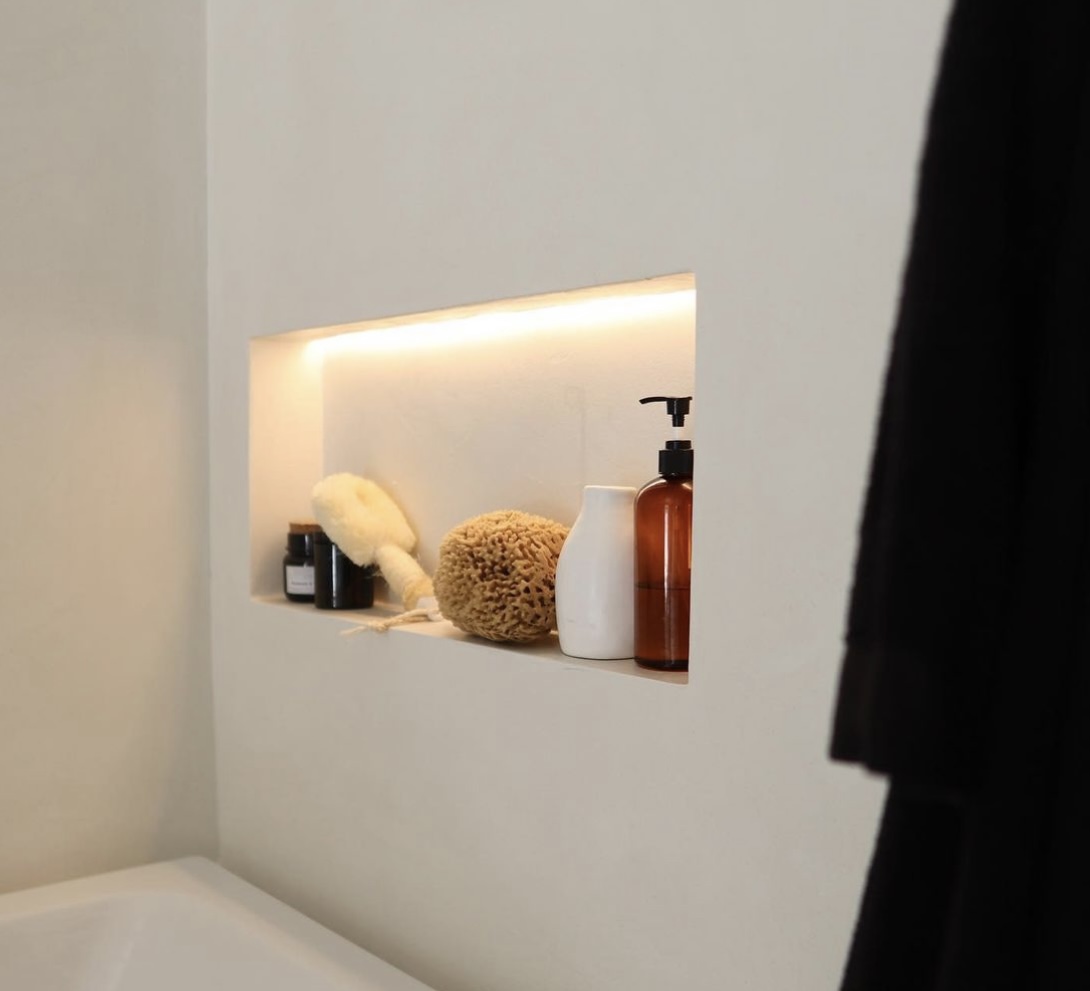
In recent years it has been used as finishing in modern interiors, applied on the floors, walls, ceilings, countertops, washbasins, as well as an interior finishing of a shower cubicles. It creates a perfectly smooth surface without joints. Therefore, no dirt is deposited on it.
Specifically, READY MIX microcement takes convenience and durability to a whole new level. Unlike traditional microcement, this innovative product doesn’t require the hassle of solvent-based sealers to make it fully waterproof. With just a simple, odour free water-based sealer, you can enhance its already impressive waterproof qualities and shield it from everyday grime. Applying a water-based sealer on READY MIX microcement not only ensures easy maintenance but also keeps dirt at bay.
ClaudiCemento offers a wide range of colours, from industrial classic grey shades to funky Green Mojito or Ocean Colours.
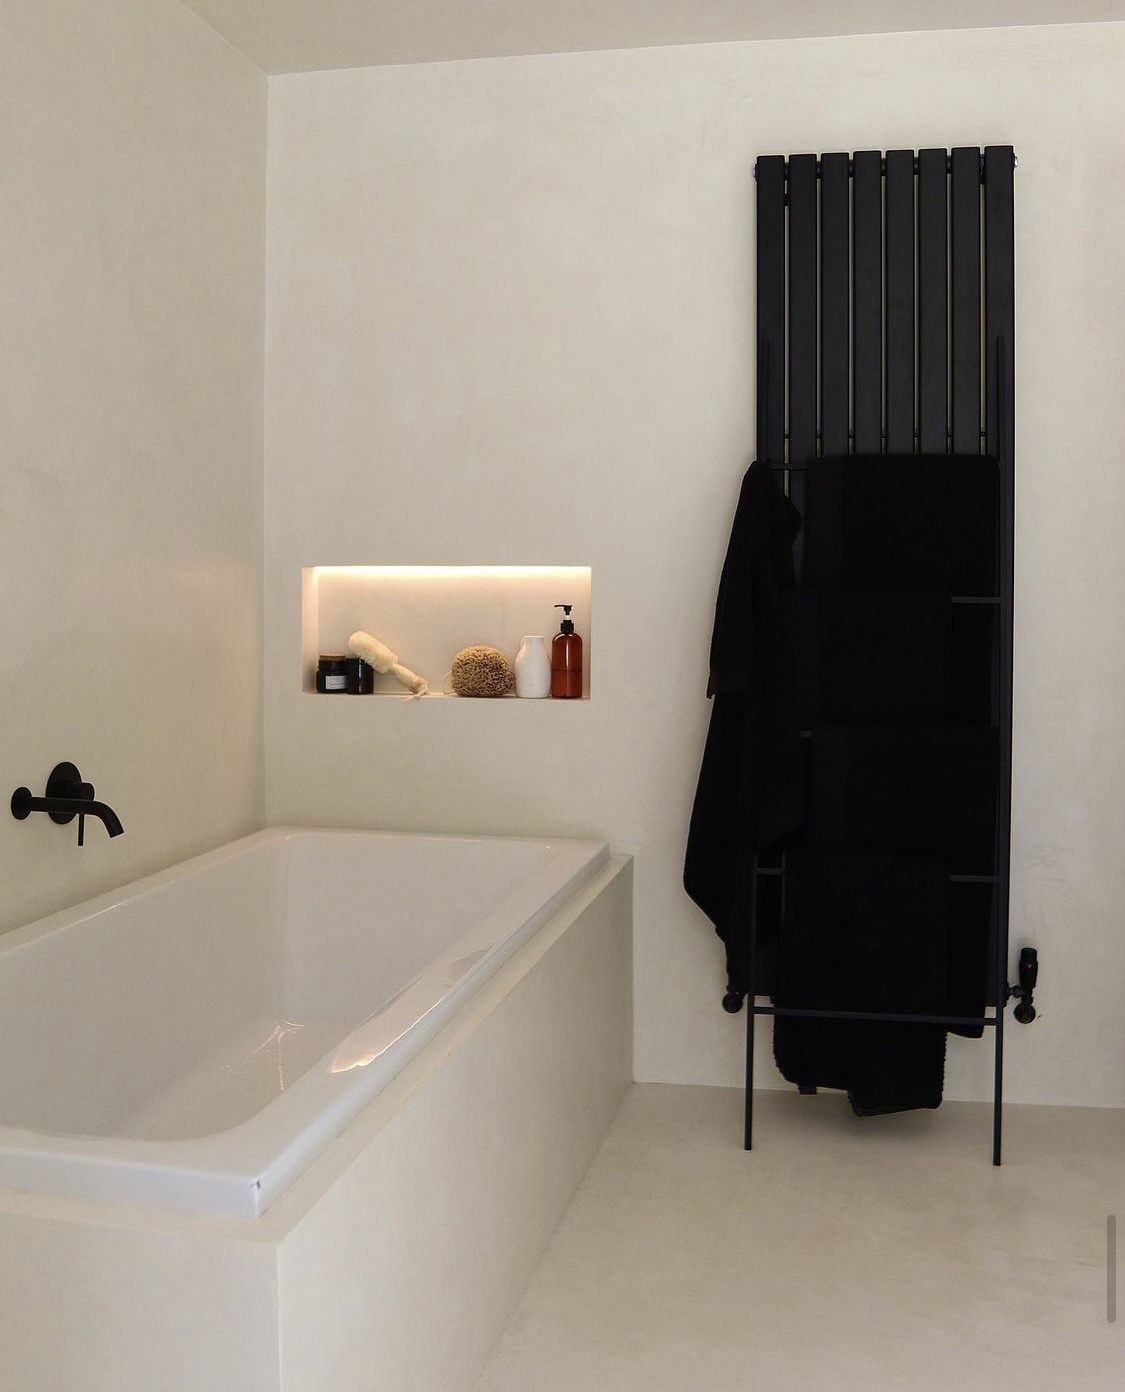
If you are wondering if microcement in a bathroom or your bedroom will be cold, then a short answer to it is NO. ClaudiCemento microcement creates a surface which is completely smooth and pleasantly warm. Microcement takes over the room temperature, so microcement floors are not cold. In our short blog article Microcement and Underfloor Heating you can find out more about it.
Very good news is the fact that we can cover old and unfashionable ceramic tiles, with microcement. Use our Ready Mix microcement Base to fill the grout lines on a clean surface. Once applied, sand the base carefully to ensure there are no bumps or dents. Afterwards, apply our No1 Sealer Quartz over the entire surface.
One of the great advantages of microcement is the fact that it super easy maintain. To find out more check our our microcement maintenance blog article HERE.
Tips:
- Dry-lined walls – on dry-lined walls you can either do plastering or do taping and jointing. The basic difference between both is that ‘’When plastering an area we would apply tapes to all the joints in the boards. Then we would skim coat the whole surface of the plasterboard with plaster. If taping and jointing the same area, we would still tape all the joints then we would apply 3 coats of jointing compound to the joints only. Once these are dry we sand down the jointing compound to a perfect smooth surface.’’(https://www.hilliermarsden.co.uk/tape-joint-finish.html).
- Size of plasterboards – it might seem like a common sense, but sometimes obvious things might just skip our minds 🙂 So the rule is easy – The Bigger The Better 🙂 – the bigger boards the better they are for microcement installation due to lower number of joints.
- Exterior grade plaster – we recommend to use a waterproof exterior plaster or exterior grade filler for filling and smoothing of the walls.
- Drain, man holes, edging trims etc. –maximum projection from the subfloor is 1 mm. Any drainage solution used should be the one which is specifically designed for microcement installation. There are many options available on the market, many installers work on Channel 100 stainless steel channel drains from Puurs Group Uk* ( *non – sponsored content ). When choosing a standard drainage you risk unwanted movement in this area, which might cause cracking and leakage around it. If your project involves an external installation or a wet room, it is crucial to ensure proper water drainage to prevent the formation of puddles and stagnant water. Make sure you achieve a correct water slope and drainage system to avoid any potential issues in the future. This will not only enhance the performance and longevity of the microcement but also provide a safe and functional surface.
- Wet rooms and shower trays –in general we recommend to use microcement in wet room on screed subfloor and use shower trays on suspended floors, this is due to the risk of movement which can be present in suspended floors.
Areas at risk of standing water should be designed with an adequate slope to prevent water from accumulating.
Shower treys and basins which are due to be microcemented we remmed to use HYDRO EPOXY PRIMER as a part of substrate preparation.
- Silicon application in wet rooms – after the installation of microcement, it is necessary to apply silicone to the joints between the walls and floor to prevent any leaks caused by movement in the subfloor/wall joints before the microcemented area is used. Any silicone suitable for marble and stone can also be used for microcement. This rule also applies to the installation of microcement in bathrooms, wet rooms, kitchen splashbacks or any other potentially wet areas. It is important to note that cracks or hairline cracks may appear in the joints between the subfloor and wall, two walls, walls and floor, or any other joining substrates due to the movement of these joints.
- Outdoors microcement installation– whether we install the microcement outdoor on the floor, walls, or furniture, we always recommend performing tanking with our HYDRO EPOXY PRIMER prior to the microcement installation. This will ensure that no water ingress will damage the microcement from the inside. If the weather conditions are not very certain we also recommend building a temporary, waterproof construction where microcement will be installed, this is to protect it from rain, dirt, mud etc. during the installation, curing and drying processes. HYDRO EPOXY PRIMER is a form of tanking designed for microcement installation on substrates with moisture issues, mainly used in basements, outside areas, or any areas where there is a risk of trapped water in a subfloor. Our Ready MIX microcement requires 2 layers of water based sealer application, to enhanced its waterproof qualities and protect it from dirt.
- Installation in swimming pools and ponds – we do not recommend to use a standard, cement based microcement in pools and ponds or even inside bathtubs, this is due to the fact that long standing waters, or waters with chemicals such as chlorine in swimming pools, or ponds fauna and flora, will with time damage the top layers of sealer and damage the microcement. READY MIX microcement can be used in the bathtubs, but not swimming pools. If you have a project requiring microcement installation in pools then drop us an email and we will provide with a quote for a pool microcement system.