8 Rules of successful microcement installation – Q & A and some basic rules
The first rule of successful microcement installation is to properly assess the surface that you will be installing the microcement on. There are some basic rules you should follow to ensure you achieve the desired and highly aesthetic outcome of microcement installation as well as avoid any unnecessary mistakes.
1.SUBSTRATE CONDITION AND PREPARATION
- Any microcement installation onto a screed or concrete surface requires these surfaces to be level, clean , cured, dry , dust free, oil free and free of any other substances that inhibit adhesion. If you are installing microcement on a new screed / concrete floors or plastered walls , make sure they have had sufficient time to cure and become free of moisture. Any freshly screeded floor can be slightly misleading and at first glance it might look as if there are no cracks in it. However, often only after you apply No1 Sealer – which is our bonding sealer / primer which improves adhesion, you be will able to fully assess the state of the subfloor.
- You can apply microcement on tiles, glass, metal, screed, concrete, green MDF, marine plywood but not on wooden floor or laminated floor due to the movement issues.
- Check the subfloor condition, look for any cracks, moisture issues / damp, unevenness, movement issues etc. If you identified any issues then remember that it is crucial to address them before microcement installation begins.
- All external areas must be water tight and protected from wind. Roofs need to be watertight. The pipework and underfloor heating systems need to be tested prior to installation – water ingress will affect the curing process and microcement finish.
- Microcement should not be used to level the surface as its not time and cost effective – you can use load bearing self levelling compound, screed to level the surface.
- If you are applying microcement on dry-lined walls you can either do plastering or do taping and jointing. The basic difference between both is that ‘’When plastering an area we would apply tapes to all the joints in the boards. Then we would skim coat the whole surface of the plasterboard with plaster. If taping and jointing the same area, we would still tape all the joints then we would apply 3 coats of jointing compound to the joints only. Once these are dry we sand down the jointing compound to a perfect smooth surface.’’(https://www.hilliermarsden.co.uk/tape-joint-finish.html).
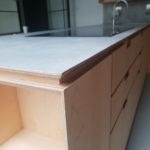
- For any furniture build up which are designed for microcement coating, use doubled up Green MDF ( moisture resistant one), glued and screwed from the bottom side, with joints flushed and overlapping.
- Floor or wall preparation needs particular attention to joints and movement as any future movement can give rise to cracks.
- Floor heating needs to be switched off at least 3 days before the application of the microcement floor and can be switch back on after 28 days of the microcement application.
- Any existing expansion joints should be mirrored, and any new one should be designed by the architects and/or structural engineers.
Q & A
Can I apply microcement on a mixed subfloor ? – It often happens that our subfloor is a mixture of tiles, some old damaged concrete and/ or other materials. We then need to prepare and level the subfloor to ensure our substrate for microcement installation is sound, solid and level.
Can I apply microcement directly on tiles or do I need to remove them first? YES, as long as the tiles are not moving and are properly attached to the subfloor. If they are not moving, or falling off the walls or coming out of the floors. Use our Ready MIX Microcement Base with No1 Quartz Sealer:
- Apply No1 Quartz Sealer, then use Ready Mix Microcement Base to fill the grout lines. Once applied, sand the base carefully to ensure there are no bumps or dents. If the grout lines are wider than 3mm, apply two layers of Ready Mix Base. Afterwards, apply No1 Quartz Sealer over the entire surface and proceed with the Ready Mix Microcement installation on the whole area as usual. If the tiles or grout lines are greasy or dirty, always clean them first with acetone.
This method save you the time and cost associated with removing the tiles.
What do I do if the subfloor has cracks in it, can I still install microcement on it? – firstly try to assess the cause of cracks in the subfloor. Any structural movement such as fresh timber shrinking in a new built loft and/or kitchen extensions, house settling etc which cause cracks in the subfloor, might compromise the structural integrity of the microcement finish. Microcement as a product has some flexibility within it, however if the levels of force are greater than the flexibility allow for, cracks can occur.
Once any potential movement has been eliminated you can fix the existing cracks and problems with our HYDRO EPOXY PRIMER. Cracks can be opened and cleaned and then HYDRO EPOXY PRIMER can be applied directly there, if the surface is very damaged with lots of cracks, then it is best to apply HYDRO EPOXY PRIMER throughout with a fiber mesh embedded into the primer.
Whether we use HYDRO EPOXY PRIMER or some other product, it tis very important to always use fiber mesh on the problematic floor. In those cases we recommend you use fiber mesh twice: the fiber mesh to be used with the EPOXY HYDRO PRIMER as well as during the regular microcement installation process between tow layers of RM BASE.
What do I do if the subfloor has dump or moisture problems ? – If you have assessed the substrate and discovered a dump or some trapped water in it, then this needs to be addressed before you start the microcement installation. Microcement does not have dump proofing properties nor will it perform as a tanking material. Once microcement is installed, it is protected with sealers and therefore becomes waterproof. However, if there is a water ingress from the inside – so it comes from the subfloor or wall on which we installed the microcement on, then this water ingress will damage our microcement. Therefore, it is crucial to do tanking in any areas where this might happen. As a rule of thumbs we recommend to always do tanking with our HYDRO EPOXY PRIMER or HYDRO FIX system when we plan to install the microcement in basements and outdoor areas (including outdoor furniture). More on outdoor installation can be found HERE.
Areas at risk of standing water should be designed with an adequate slope to prevent water from accumulating.
2. ATTENTION TO DETAILS AT EVERY STEP
- Do not skip any stage of the microcement installation. At Claudicemento, we offer a comprehensive system which allows you to install microcement on any type of substrate. We sell our microcement in specially designed KITs, which offer you a full system for microcement installation on regular subfloor, so you don’t have to worry about what you need to buy as you have all products for each step of the installation. ( KITs do not include pigments, these need to be selected separately as we have over 20 different colours to choose from 🙂 ).
- Do not mix products from different suppliers. There are number of microcement suppliers on the market, and each microcement system is slightly differently. ClaudiCemento READY MIX is ready when opened, you just need to add your selected colour (pigment) to it ! And our traditional microcement is a mono-component microcement, has already added resin to it. Therefore, you just need to add water and selected colour(pigment) and it is ready to be used. All our products are perfectly matched, and once used properly they guarantee high quality and durability. We do not recommend mixing products from different suppliers as there is no guarantee how the products will react with each other and what outcome can be achieved.
- The better you prepare your Microcement BASE the easiest it will be to achieve the desired, beautiful microcement finish with either ClaudiCemento READY MIX microcement DECK or FINE. Do not skip sanding of the Ready MIX microcement BASE. If you require fiber mesh with Ready MIX microcement system, then make sure that the second layer of microcement BASE has fully covered the fiber mesh.
- Don’t save up on the material; do not make it too watery and do not apply it too thin but also don’t overdo it! The basic rule is to apply the microcement in the thinnest possible layer as allowed by the thickness of the aggregate fraction contained in it. Each layer of our READY MIX microcement BASE and DECK should not be thicker than 0.6/ 0.8 mm; if your layers will be too thick then you will get small pin holes on the surface as the trapped air will be trying to escape. To spread the microcement properly over the surface do not led the trowel too flat but aim to have it at 45 degree angle, which is an optimal inclination of the trowel to the ground.
3. ROOM TEMPERATURE
- The best room temperature for microcement installation is between 15 to 20 ° C. If you make an installation in high heat conditions, then this will make it much harder for you as the material will dry and set faster, especially in a direct sun exposure. It is often advisable to start installation very early in the morning to avoid working in high temperatures (especially when the outside weather conditions are around 30 degrees). This is usually the case when microcement is installed in Spain, Portugal, Italy or Australia . However, since the weather condition in the UK have been changing in recent years with more sunshine than rain during the summer season, this rule might be useful for the UK installers as well :). On the other other hand, too low temperatures may cause the microcement to bond too slowly and the entire installation process might be significantly longer, as the drying time of each layer will be prolonged. The room should be provided with some air circulation.
4. HUMAN RESOURCES
- Regardless of how experienced you are, is not a very good idea to try to install microcement on a wide area above 40 – 50 sqm on your own! Long and narrow rooms can be done easily by one person, however any area wider than 4-5 meters, will be challenging for a ”lonely installer” ;). It is always advisable to plan ahead the installation process; asses the number of people needed for the specific size of the project, and to check were the exit is – so when the final trowel move is done, you will be able leave the room safely without having to use Super Powers and ‘fly over’ the freshly installed microcement 😉
5. GOOD QUALITY MICROCEMENT AND SEALERS
- This might seem like an obvious rule, however it is good to mention that poor quality microcement and protective sealers will always result in an unsatisfying final finish. There are some microcement-like products and systems on a market with very poor adhesion to the substrate, poor durability and chemical resistance, which should be avoided and not used! All ClaudiCemento products are produced by one manufacturer with their own laboratories. This ensures that all products have a uniform composition, which guarantees the same high quality every time you purchase our products and use them in your projects.
6. AMOUNT OF MICROCEMENT APPROPRIATE TO THE SIZE OF THE PROJECT
- Always make sure you have enough material for your project. You might want to save some money by purchasing less, but in reality you might spend more if you run out of it and need to redo the entire layer of microcement. ClaudiCemento microcement Kits are with a small material allowance, however if you are not a very experienced installer then do get a bigger KIT for the first couple of project as you might use more material, especially if your application is on the walls or ceiling. If the microcement installation area is 25 sqm, then go for the 30 sqm KIT rather than for 20 sqm one.
7.UNINTERRUPTED CURING PROCESS
- You might think that once the job is done and you applied the final layers of protective sealer – Protector DUR Matt, Satin the microcement installation process has ended – actually no! That’s not true when it comes to the microcement installation. The final step of microcement installation process, which guarantees its success and long lasting effects is the uninterrupted curing process. This phase is as important at the first one! All your work can be damaged if the microcement and the top coat sealer won’t have sufficient time to fully cure, bond and dry! What does this really mean? Well, you just need to stay away from the area where the microcement was installed for a few days 🙂 That is ! The curing period, starts after the final coat of seal was installed, so no construction works and trades should be carried out in the area where the microcement was installed. You should not be walking on the new microcement floor, touching the walls, placing objects on the microcemented furniture in that time. Curing period can vary considerably depending on room temperature, but usually 3-4 days are sufficient, with top coat sellers and microcement full performance being achieved after 28-30 days. Once the microcement floor has been installed and the curing process has ended, it is imperative that a breathable membrane floor cover is used to protect the flooring from potential damages caused by any ongoing construction works and high foot workers traffic. The uninterrupted curing time gives you years of good quality, low maintenance microcement finish for you and/or your clients 🙂
8. GOOD QUALITY TOOLS AND CONSUMABLES
- Good quality tools are one of the factors which highly contribute towards the successful microcement installation. Appropriately selected trowels, sanders and rollers support the achievement of good results. At ClaudiCemento we offer bi flex steel trowels with rounded corners and bevelled edges recommended for our READY MIX microcement BASE and DECK application, as well as rubber trowels which are perfect for our READY MIX microcement FINE application as they do not leave burnishing marks on the fine grain microcement.
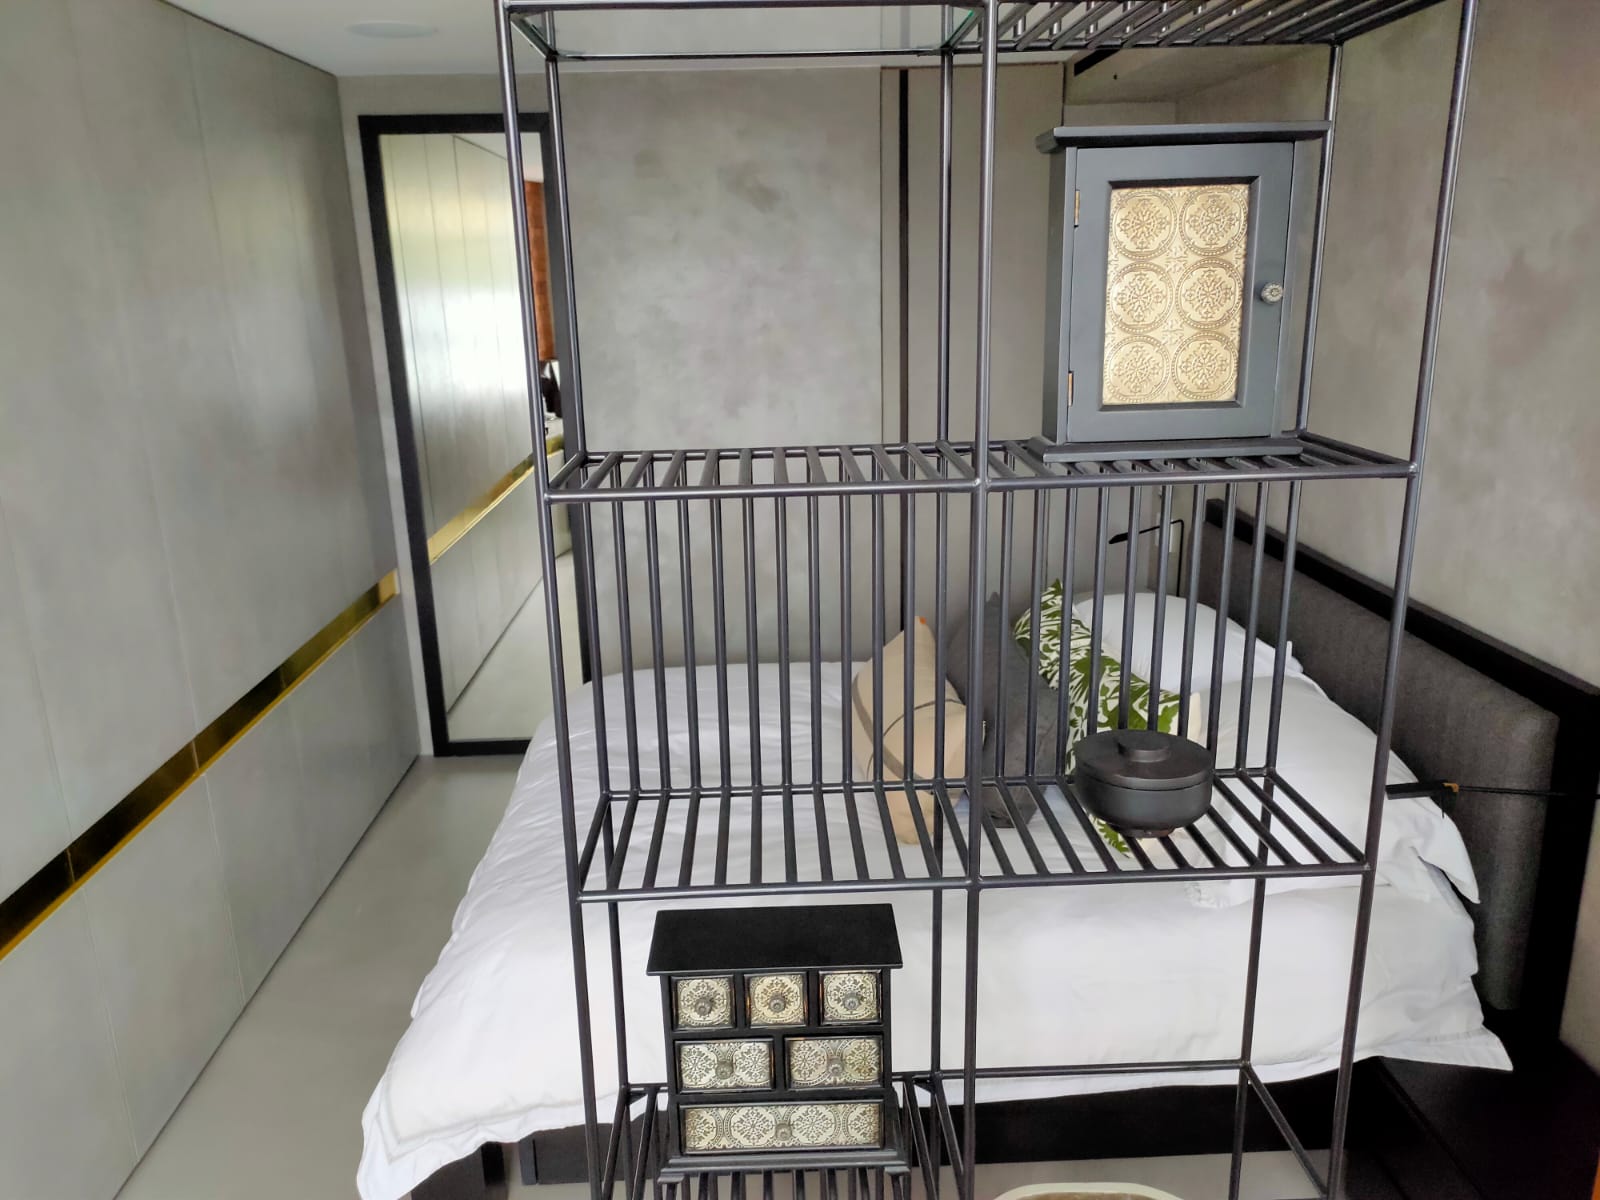
ClaudiCemento on the walls, floors and furniture.